Meraki MT10 Installation Guide
The Cisco Meraki MT10 is a cloud-managed temperature and humidity sensor that is very simple to deploy, thanks to it's integration with the Meraki Dashboard and Bluetooth technology.
Before installing the MT10 on-site, there are a few things we need to take care of.
First thing we need to do is configure the network in the Meraki Dashboard.
- Log in to http://dashboard.meraki.com. If this is your first time, create a new account.
- Find the network to which you plan to add your sensor, or create a new network.
- Add the sensors to your network. You will need your Meraki order number (found on your invoice) or the serial number of each sensor, which looks like Qxxx-xxxx-xxxx, and can be found on the back of the unit or included in the box.
- Add the gateway (MV or MR) to the same network as the sensor.
If you are claiming multiple devices, you can scan their barcodes using the Meraki app.
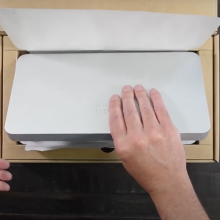
Finally, we are ready to mount the MT10. The mounting location is important, because we need to make sure that a working compatible gateway is in range of the sensor. Some examples of ideal mounting locations would be:
- On a wall for ambient temperature and humidity readings.
- Inside a rack to monitor the rack temperature.
For most mounting scenarios, the MT10 has flexible options to provide quick and simple mounting.
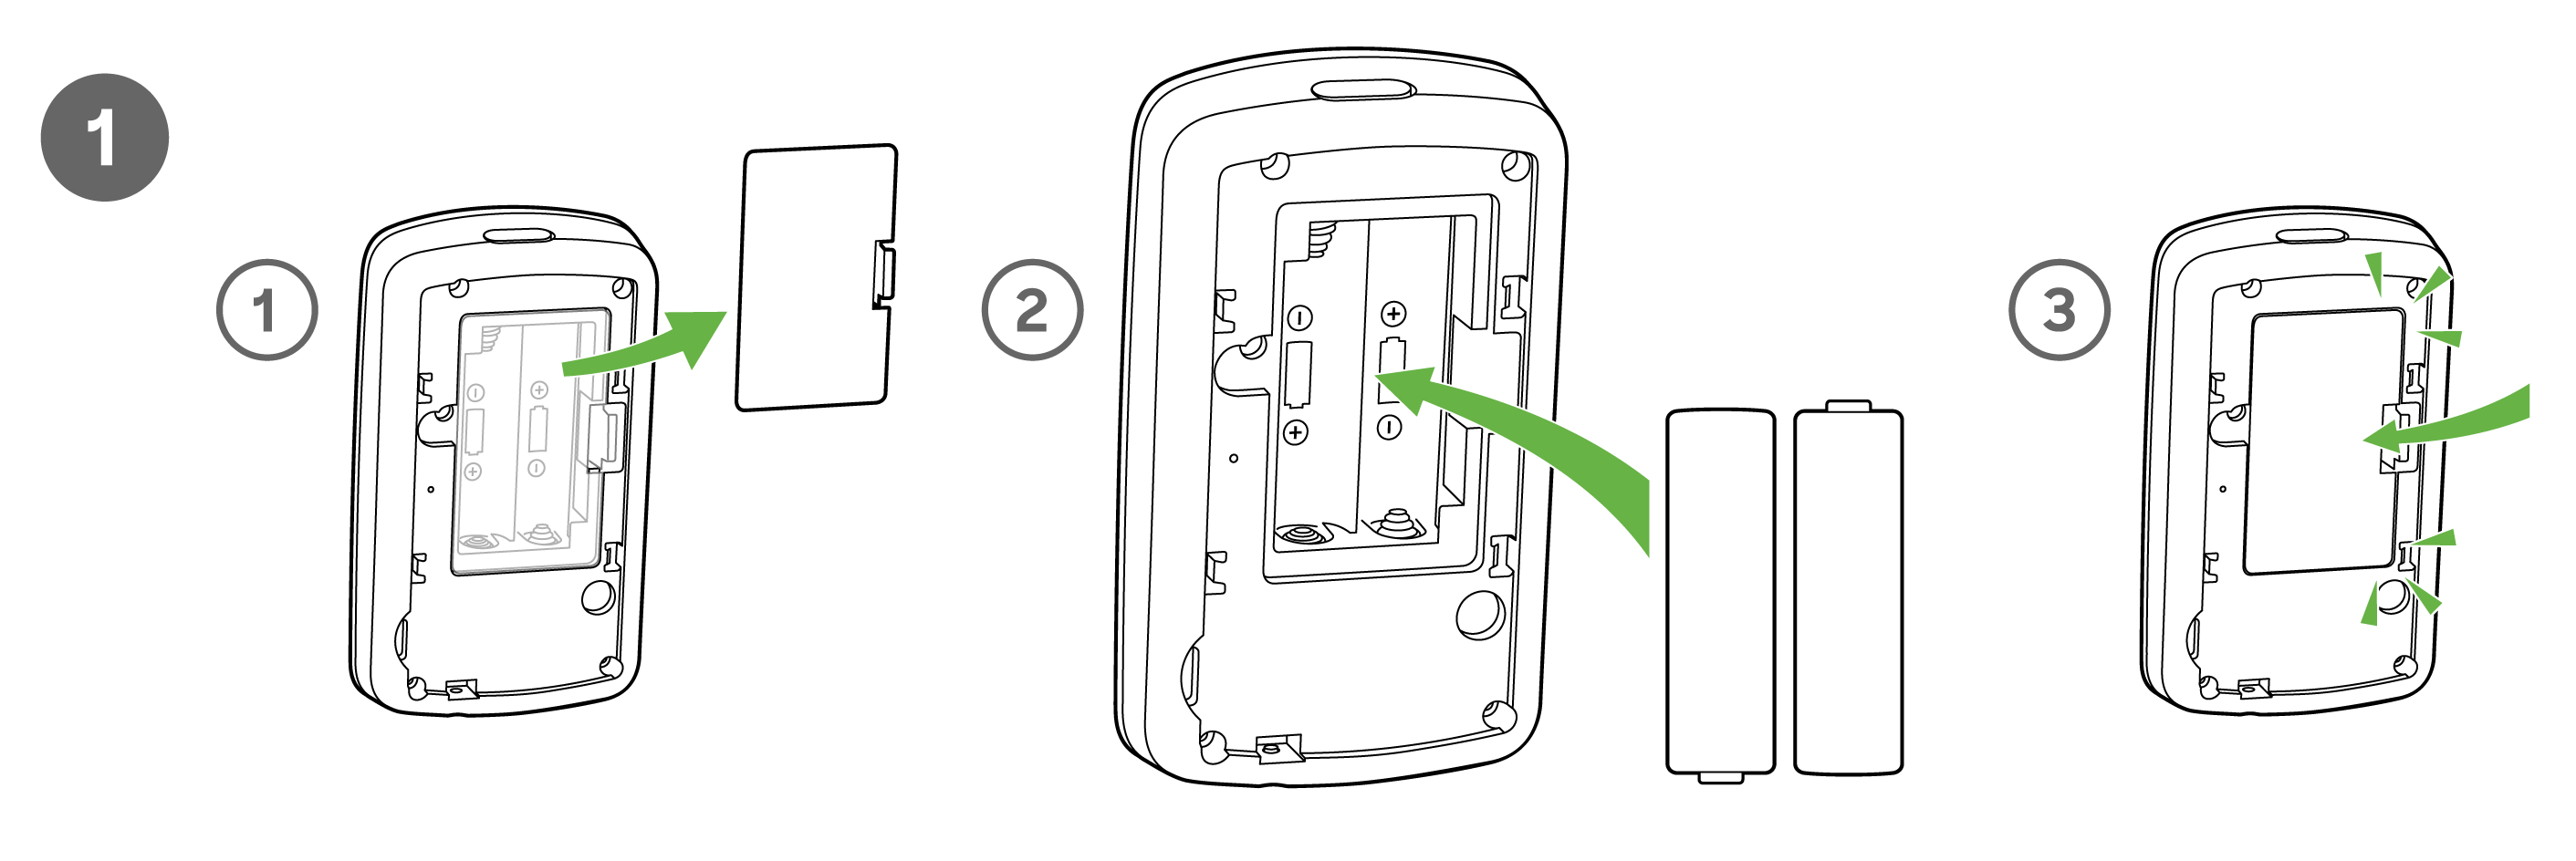
- Start by removing the battery compartment cap and inserting two AA batteries into the compartment.
- In order to mount the sensor on different locations, there are three options:
- Screws - The mounting plate can be directly screwed onto the wall.
- VHB tape - Double-sided VHB tape can be used to stick the mounting plate on any type of surface.
- Magnet - Stick the magnet on any surface and the mounting plate can be stuck to the magnet.
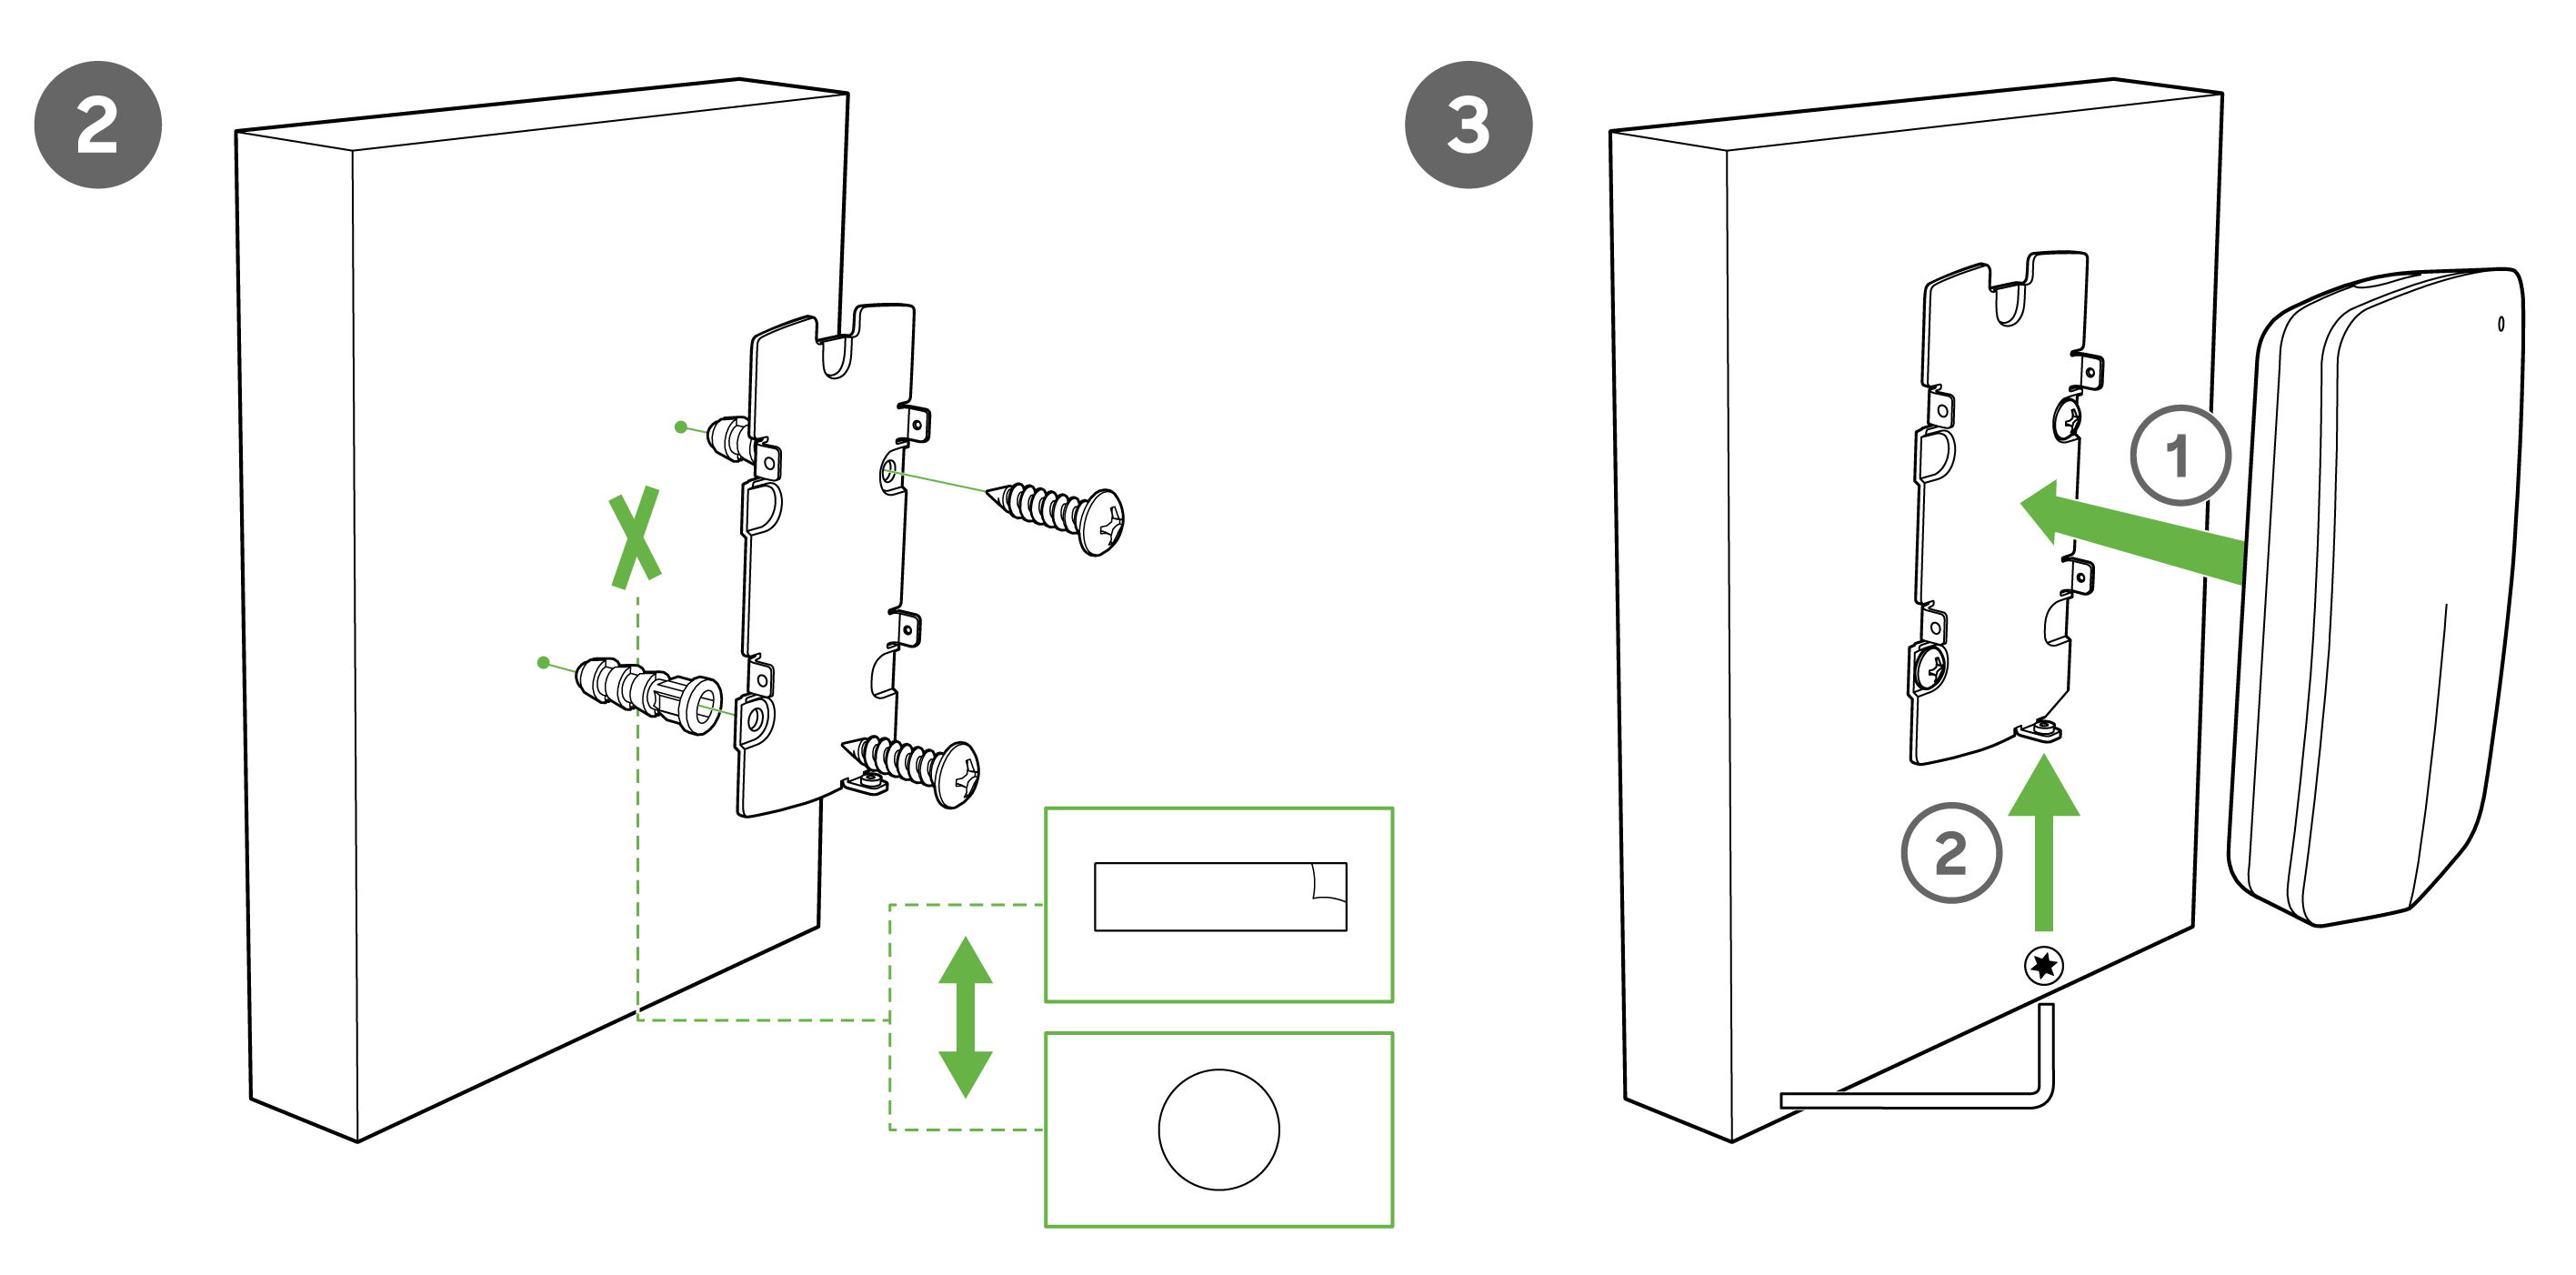
Once the mounting plate is on the desired surface, slide the MT10 sensor onto the plate and use the included Torx screw to secure the sensor.
Once the device is mounted and added to a network with a compatible gateway, press the "General Purpose" button on the top of the sensor to wake it up and sync with the nearest gateway. If the light is solid green for three seconds, it is connected to a gateway. If the light is solid amber for three seconds, the MT10 could not find a gateway to connect to.